As your trusty ASUS laptop ages, its battery life might start to dwindle, leaving you tethered to an outlet more often than you’d like. Replacing your ASUS laptop battery is a cost-effective way to revitalize your device and regain the freedom of unplugging.
However, navigating the replacement process might seem daunting, especially for first-timers. This guide equips you with essential tips for a smooth and successful Remplacement Batterie Asus.
When to Replace Your ASUS Laptop Battery
Several signs indicate it might be time to replace your ASUS laptop battery, such as a significant decrease in battery life. If your laptop struggles to stay powered on for even an hour on a single charge, it’s likely the battery is nearing the end of its lifespan.
Also, if you experience unexpected shutdowns, especially when your laptop still shows some battery charge, this can point to a faulty battery. If the battery appears swollen or warped, it’s a critical safety concern requiring immediate replacement.
Choosing the Right Replacement Battery
Selecting the correct replacement battery is important for ensuring seamless functionality and optimal performance. Identify your laptop model number by locating it on a sticker at the bottom of your laptop or within the system information settings.
Don’t hesitate to consult the ASUS website. The ASUS website typically lists compatible battery models for each laptop series and model. If you’re unsure about compatibility, contact the manufacturer or a reliable battery retailer for guidance.
Preparing for Battery Replacement
Before replacing your ASUS laptop battery, here are some important things to do:
Backup Important Data
It’s crucial to back up any important data stored on your device. This ensures that your data is protected in case of any unexpected issues during the battery replacement process. Transfer important files to an external hard drive or cloud storage platform.
Power Off and Disconnect
Before removing the old battery, power off your ASUS laptop and disconnect it from any external power sources. This prevents the risk of electric shock or damage to your device during the battery replacement process. It also reduces the risk of damaging internal components.
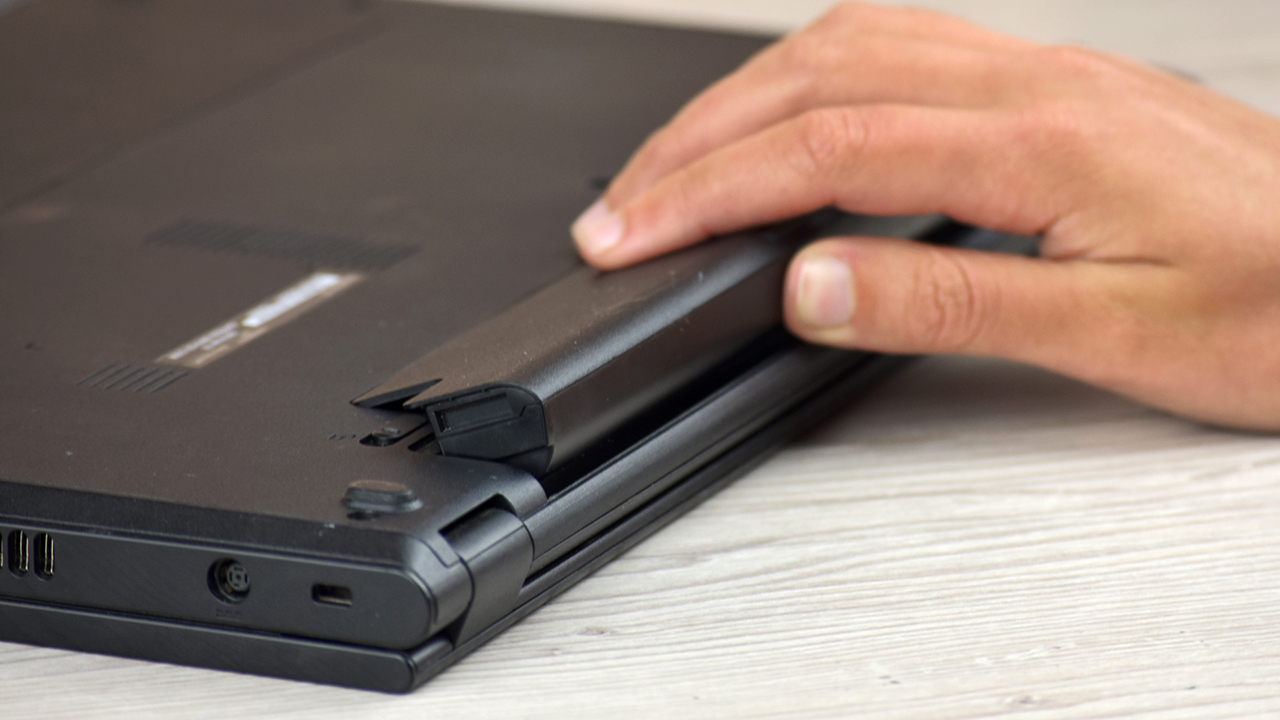
Replacing the Battery
Using a screwdriver or other appropriate tools, carefully remove the screws securing the old battery in place. Take note of the battery’s orientation and connections before disconnecting it. Avoid applying excessive force or damaging the battery connectors during removal.
Then, carefully insert the new battery into the battery compartment. Secure the battery in place with the screws removed earlier, taking care not to overtighten them. Once the new battery is securely installed, reconnect any cables or connectors as necessary.
Testing and Calibration
After installing the new battery, power on your ASUS laptop and verify that it recognizes the new battery. Check the battery status indicator or access the system settings to confirm that the battery is charging properly and displaying the correct capacity.
To ensure optimal performance and accuracy, calibrate the new battery by fully charging it and then discharging it to a low level. Repeat this process several times to help the battery’s internal circuitry adjust and accurately measure its capacity.
Final Takeaway
Replacing your ASUS laptop battery can be a straightforward process with proper information and preparation. By identifying the signs and following the recommended steps, you can revitalize your laptop and enjoy extended untethered productivity.
With reliable performance, seamless compatibility, and comprehensive product support, Batterie ASUS provides the best solution for replacing your ASUS laptop battery and maintaining optimal performance for your device.